Integrations
Salesforce
Integrate Apriora with Salesforce
Overview
Our Salesforce integration automatically creates jobs and invites candidates to interviews with data from your Salesforce instance. In addition, on interview completion, we write interview data back to your Salesforce instance. Key Features of the Integration:- Automated Interview Generation: Alex can automatically generate an interview in Apriora for each job that is created in Salesforce. The title of the job as well as the job description will be used to create the AI job interview.
- Automated Interview Invites: Alex can automatically send email invites to applicants and handle interview scheduling.
Steps to Integrate:
1. Create Objects
Salesforce is highly customizable in that you are able to create objects that can represent anything. We will need you to create three core objects to facilitate interoperatbility with Apriora. They are:- Job (ex:
Job__c) - Candidate (ex:
Candidate__c) - Job Submission / Candidate Application (ex:
Job_Submission__corJob_Applicant__c)
2. Create an API User and Set Permissions
This API user is what we will use to read/write data to your Salesforce instance. You can do this by first navigating to the “Object Manager” in “Setup” and then searching “User” in the “Quick Find” search bar on the left hand side. When you create a new user, you will see this menu, where you should ensure that the User License and Profile are “Salesforce Integration” and “Salesforce API Only System Integrations”, at the minimum. For permissioning, go back to the “Quick Find” search bar and search “Permission Sets”. There, you can create a new permission set, and give read/edit access to each of your objects. We will never create or delete any records in your Salesforce instance.
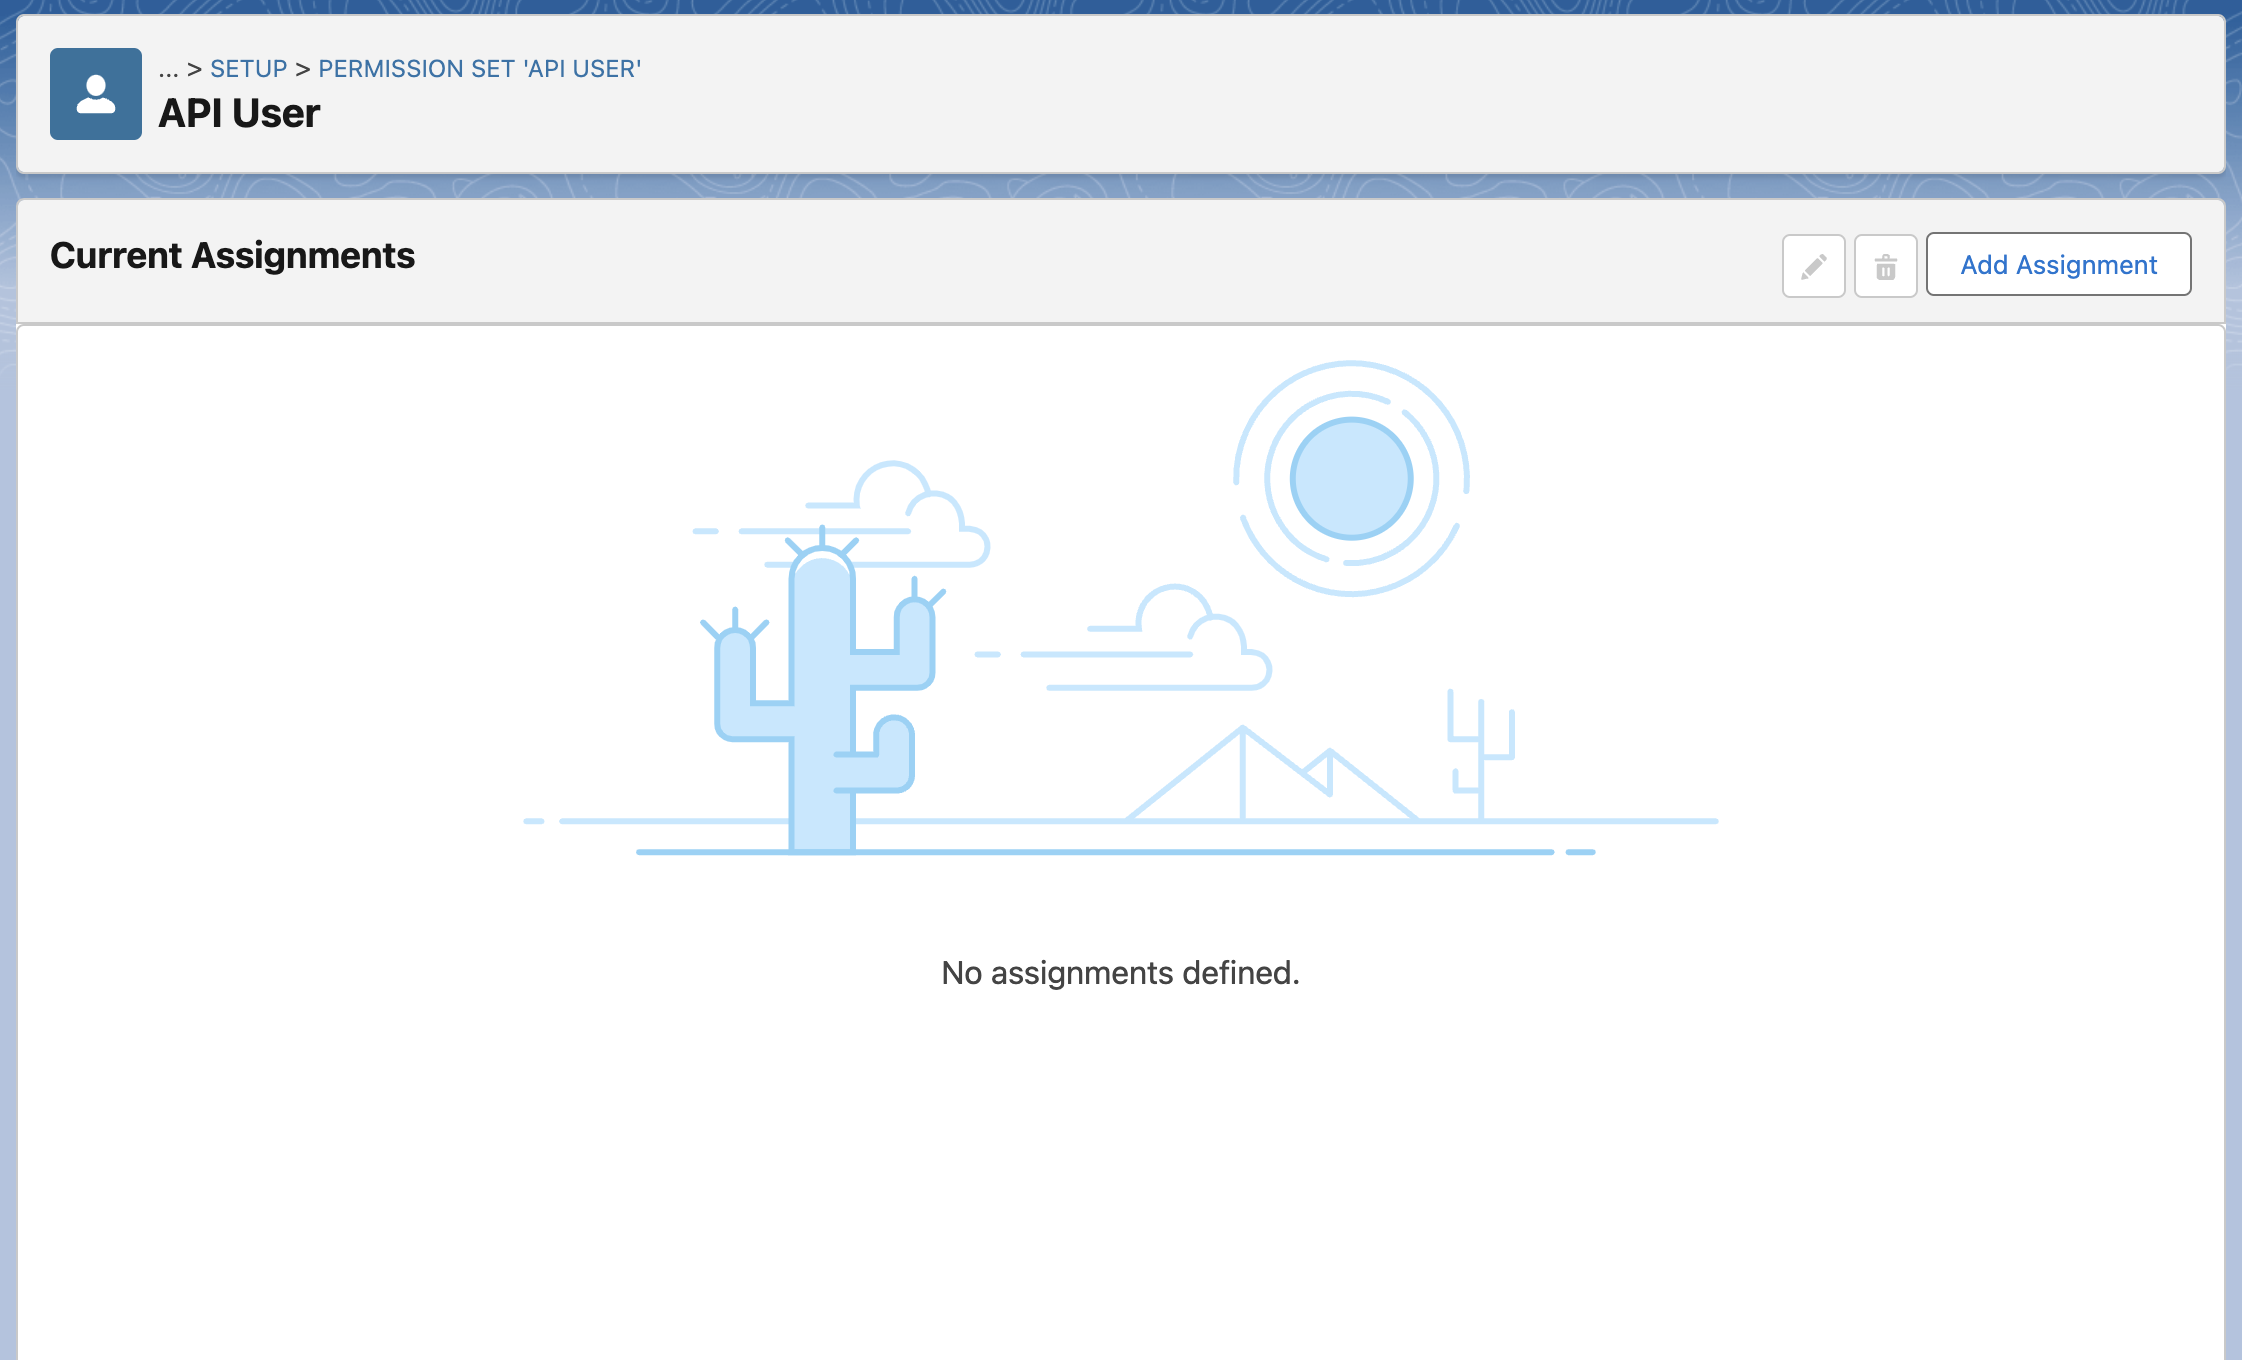
 After you have assigned the permissions for each object you now need to apply the permission set to the user you have just created. You can do so by navigating to your new permission set, and clicking “Manage Assignments”.
 Then in the top right, you can assign the API User you just created to the “Permission Set”.
3. Create a Connected App
Next, you will need to create a Connected App. This connected app is how third party integrations like Apriora, communicate with your application. To do so, go to “Setup” and in the “Quick Find”, search “App Manager”.Then, create a Connected App. In the Connected App setup, enable OAuth Settings and in the “Selected OAuth Scopes” section, add “Access the Salesforce API Platform (sfap_api)” scope. For the callback URL, use
https://app.apriora.ai/
4. Add Your Credentials to the Apriora Settings
After creating your Connected App, you will have a “Consumer Key” and “Consumer Secret”. Those will be the “Client ID” and “Client Secret” respectively in Apriora. Gather your credentials as well as your objects and input them into the Apriora settings. Once you have input your credentials, click “Test Connection” in the top right. After your connection is successful, you will be able to click “Connect” and establish the connection between Apriora and your Salesforce instance.
Once you have completed these steps, you are ready to go!